

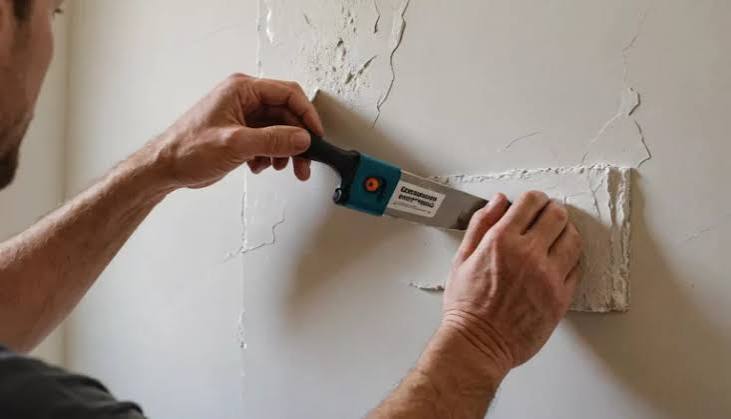
Expert drywall repair can help restore your wall’s smooth, finished appearance, while also preparing the surface for painting or wallpaper installation. Mistakes such as inadequate preparation, unsuitable materials, or rushed finishing tend to compromise the repair process; this often leads to issues like cracks and nail pops. Here is more information on various mistakes to avoid during drywall repair projects:
Skipping the Damage Assessment
A comprehensive inspection before starting drywall repairs allows you to catch issues like moisture damage, framing problems, and electrical complications. Soft or spongy drywall often signals water intrusion, and covering it without assessment traps moisture inside the wall. Leaks, loose wiring, or damaged ducts behind the wall may create future problems that force the new drywall to be removed. A skilled handyman inspects the drywall for:
- Missing or loose edges
- Flexing panels
- Surface cracks
- Exposed fasteners or tape
- Swelling, soft spots, or discoloration
A pre-repair inspection helps reveal structural issues, such as warped studs, missing blocking, or loose connections. Addressing these issues first provides a secure base for the new drywall. Damage assessment also helps determine whether the repair is localized or if weakened material must be removed and replaced.
Using the Wrong Materials
A drywall repair project requires experts to match the materials to the size and location of the damage. Using the right materials for each repair prevents the risk of poor adhesion, excessive shrinkage, and weak seams. The correct materials help create a stable foundation for the finishing stages; recommended materials for repairing drywall include:
- Joint compound
- Setting-type compound
- Drywall tape
- Mesh
- Replacement panels
Failing to Prepare the Surface
When frayed paper and rough edges are not trimmed, the repair area then has an irregular border that the compound cannot feather smoothly. This creates a raised or sunken patch that is visible, even after painting. Unsealed drywall allows moisture from the joint compound to soak in. The material can swell or dry unevenly; this causes bubbles or blisters to form under the finished surface. Make sure to first remove loose material around the damaged drywall area.
A skilled handyman cuts away ragged drywall edges as needed without enlarging the opening. They then trim or remove loose paper facing instead of covering it. Cleaning, vacuuming, and drying the repair area help remove residual moisture, and this prevents debris from weakening the joint compound’s adhesion.
Rushing Drying and Sanding
Drywall compound must dry or set according to the product requirements before sanding or recoating. When joint compound remains damp, it sticks to the sandpaper and reduces its ability to smooth the surface. Because the compound is not fully dry, sanding also pulls or smears the material rather than creating a fine powder. Rushing this stage risks removing material from the repair or trapping moisture beneath a new layer. A uniformly dry appearance and firm surface indicate that the compound is ready for sanding, while soft or dark areas require additional drying time.
Hire a Drywall Repair Expert
Steps such as surface preparation, proper patch installation, and applying the right amount of compound create a stable foundation for lasting drywall repairs. A skilled handyman can accurately assess the damage, complete detailed finishing work, and address related repairs that affect the final result. Contact a trusted handyman to arrange an assessment and determine the most suitable repair solution.